Nx Witness / DW Spectrum / Wisenet Wave Integration
Nx Witness VMS is a cross-platform IP video management system / video surveillance software by Network Optix, able to discover, view, record, and manage IP video cameras. Integration with U-Filter allows you to observe and manage your alarms filtered by U-Filter, within Nx Witness.
This guide in its entirety is also applicable to the DW Spectrum and Wisenet Wave software solutions - simply follow the steps laid down below, as you would with Nx Witness.
Before you start
Please make sure that you have:
- A registered account for Nx Witness.
- Your cameras have been configured and set up in U-Filter.
Setup cameras and rules in Nx Witness
Getting the camera IDs for U-Filter
The identifiers assigned to cameras in Nx Witness are needed in U-Filter. Follow the steps below to find out how to get them.
Open and login to the Nx Witness interface.
Register the cameras you would like to use in U-Filter, by right-clicking on your Server on the left sidebar, and clicking Add Device.
Once registered, right-click on your camera -> click Camera Settings.
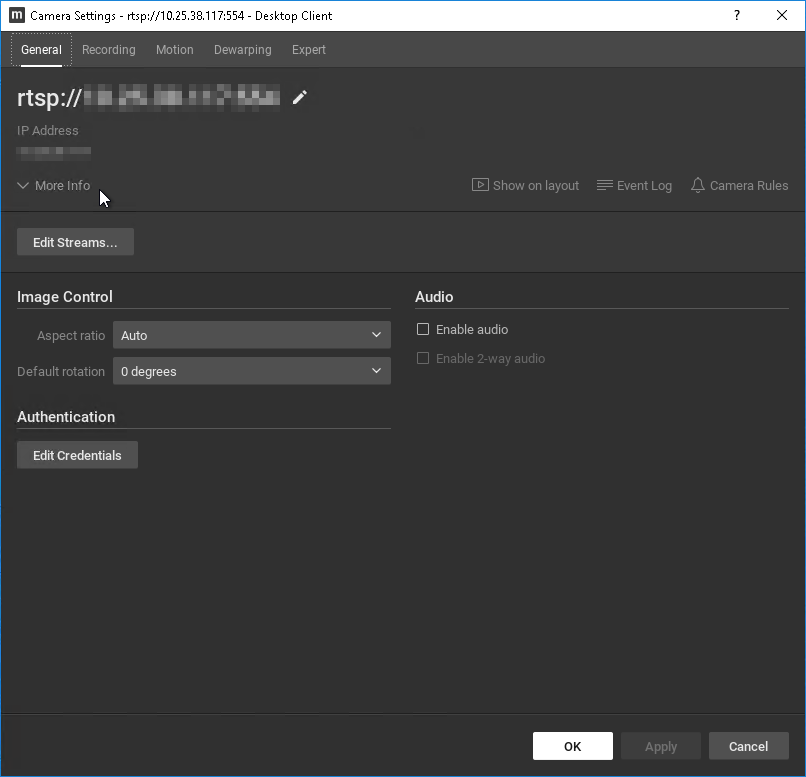
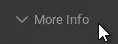
Expand the camera information panel by clicking on the More info button, below the stream's IP address line.
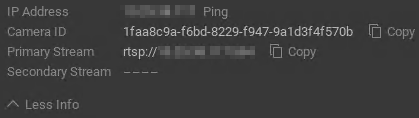
Click the Copy button next to the Camera ID identifier - make sure to keep it in the clipboard or otherwise note it down as this ID is going to be needed in a later step.
Setup camera rules
The following steps will ensure that any event generated by your cameras and filtered by U-Filter remain persistent in Nx Witness by setting up Bookmarks. Notifications, used in Nx Witness by default, will disappear between logins to the application.
Open the Recording tab of the Camera Settings window. If disabled, toggle Recording on in the upper right corner of the window.
Below the timetable, click the black Do Not Record rectangle -> paint the whole time range black.
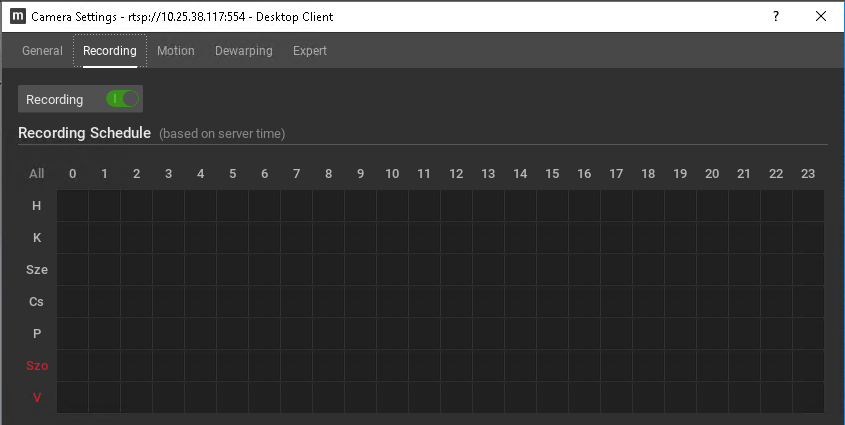
If configured this way, the given camera will only record if an event is logged, and only if that event is specifically setup to record the triggering incident. This way it is possible to set up recording rules on and event-by-event basis.
NOTE: In some cases, the above method for video recording may not work: if so, click the Record Always rectangle instead, and paint the whole time range green. It is recommended to also untick the Auto checkboxes under the Keep Archive For.. tab and set a custom time frame for video retention.
In this case, setting up Camera Recording rules in Step 10 below is optional.
Switch back to the General tab -> Click the Camera Rules button.

Click the +Add button in the upper right corner of the window.
In the Event panel at the bottom left, click the dropdown menu next to When: -> select Generic Event.
In the Caption contains: field, type
INTRUSION_EVENT. This will ensure that you will receive filtered events only.
NOTE: The above will ensure that only events produced by positive detections will appear in Nx. It is possible to display error and technical events as well, for testing and maintenance purposes, by setting up multiple camera rules, one for each event type. Consult the table describing event types to find out the correct Caption for each event type.
In the Action panel to the right, click the dropdown menu next to Do: -> select Bookmark.
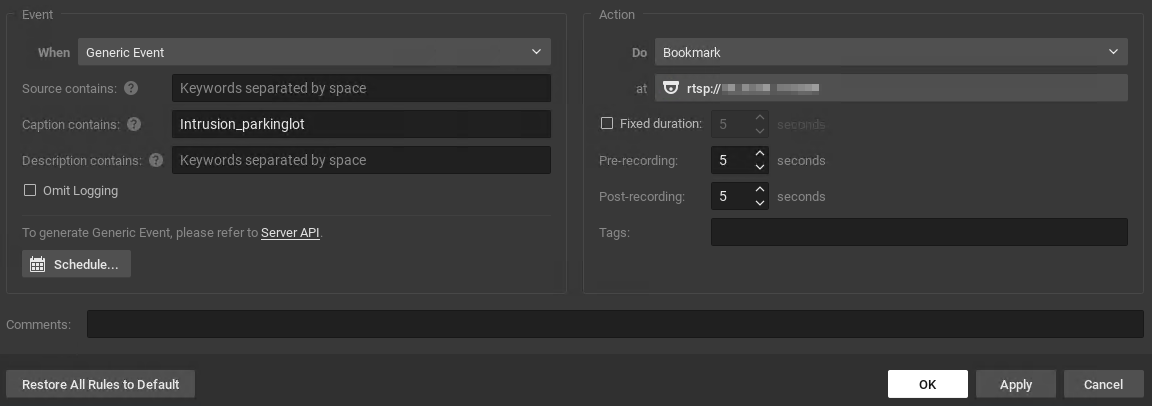
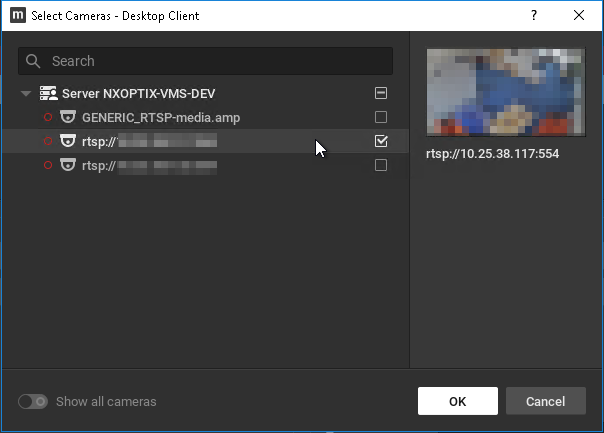
Click the Select at least one camera button.
Choose the camera that you have been editing by ticking its box -> click OK.
It is recommended to untick the Fixed duration box and instead set a custom time frame for the entry's duration, e.g. 5 seconds pre- and post-recording.
Click the +Add button in the upper right corner of the window again.
Repeat steps 4-8, this time choosing Camera recording from the dropdown menu next to Do:.
Note that this step is optional if you have set video recording to Record Always in Step 2 above.
- Close the window by pressing OK.
Repeat the steps above for each of your cameras you would like to integrate with U-Filter.
Integration with U-Filter
- In the U-Filter Web UI, navigate to your Sites -> Click Configure on the Site containing the cameras in question.
- Scroll down to Nx Witness / DW Spectrum / Wisenet Wave. Tick its button, then fill in the form according to the following:
- Tick the Trust all certificates button.
- Hostname: The location of the server that Nx Witness is running on.
- Port:
7001. - User name / Password: Type the same credentials you log into Nx Witness with.
- Tick the Trust all certificates button.
- Click Save.
Camera setup in U-Filter
Open the U-Filter Web UI. Navigate to your Sites -> Click on the Site containing the cameras in question.
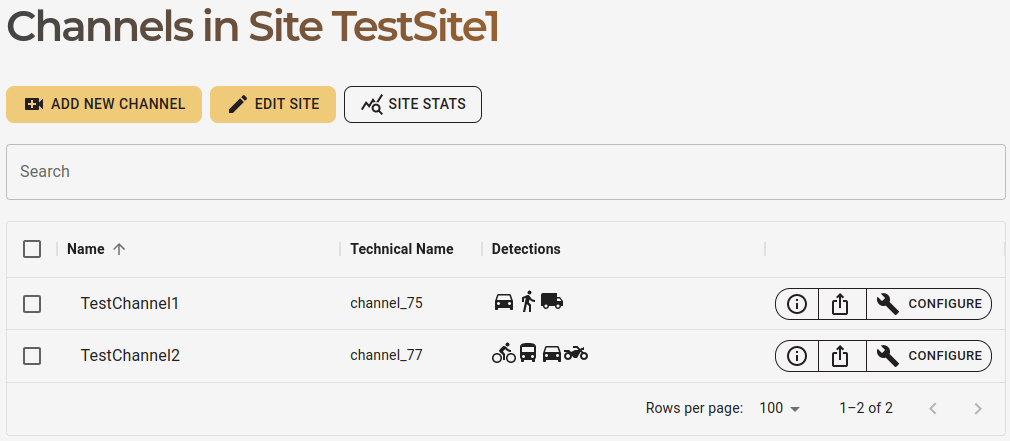
Click the Configure button on the row of your Channel.
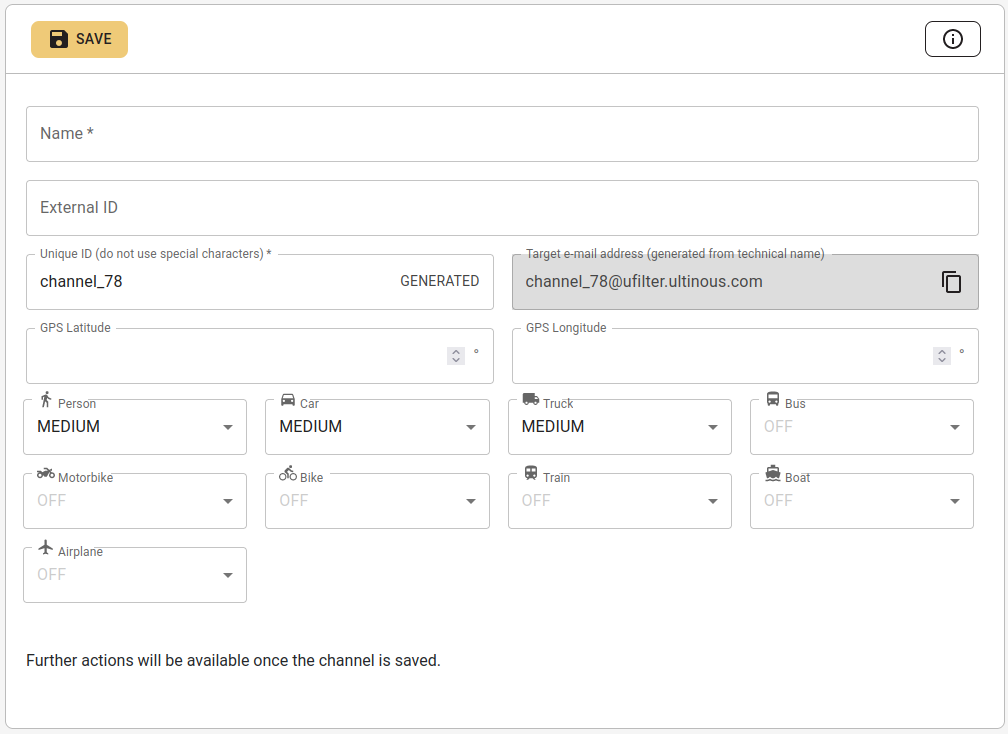
Paste the Camera ID you copied from the Camera Settings window of Nx Witness into the External ID field here.
Click Save.
Repeat steps 1-4 for each Site containing cameras registered in Nx Witness.
Viewing incidents in Nx Witness
Once the U-Filter configuration is finished, Nx Witness is now ready to receive filtered events.
If an event is triggered, it will appear as an entry under Notifications, in the upper right bar in Nx Witness. Events can also be viewed in their persistent format, in the Bookmarks tab.

Double-click an entry under either Notifications or Bookmarks to open its recording in the video player.
U-Filter within Nx Witness (optional)
Nx Witness has the ability to open webpages via its embedded browser - this enables the added functionality of opening the web interface of U-Filter within Nx Witness, without the need to switch between the two.
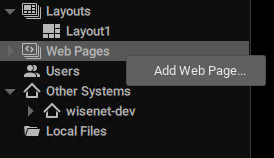
In the left sidebar, right click on Web Pages -> Add Web Page.
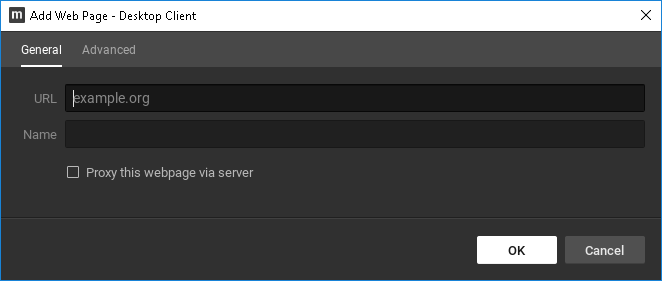
In the dialogue window, type the address you access U-Filter from. Give it a name, then click OK.
The embedded browser will automatically open, then you may log in and use U-Filter as needed. Optionally, click the Full Screen button in the top right corner of the embedded browser to enlarge it.
Please note that due to the nature of viewing U-Filter in an embedded browser, a slightly slower response time can be expected, depending on your network. In that case it is recommended to open U-Filter in Google Chrome.
Event type handling
Consult the table below to see what events correspond to their U-Filter counterparts. When registering camera rules, type the corresponding string described here into the Caption Contains field for each event type you would like to receive notifications for.
| Event type in U-Filter | Event description in client | "Caption contains" field |
|---|---|---|
| EVENT | motorcycle: 1, bicycle: 2, ... | INTRUSION_EVENT |
| NEGATIVE_EVENT | U-Filter: Negative event | INTRUSION_NEGATIVE |
| FIRST_OVERLOAD_COOLDOWN | U-Filter: Overload | INTRUSION_OVERLOAD |
| ERROR | U-Filter: Error | ERROR |
| INVALID_IMAGE | U-Filter: Invalid image | ERROR |
Troubleshooting
If you do not receive notifications/bookmarks even if everything is set up correctly:
Exit, then reopen the client.
Try clicking in the "Search..." field above the list of Bookmarks - this sometimes fills the list.