SSL settings
SSL Settings are available in the Control Panel.
Ultinous AI Suite supports SSL/TLS to protect data between your browser and the box itself. It is not enabled by default, but can be turned on here.
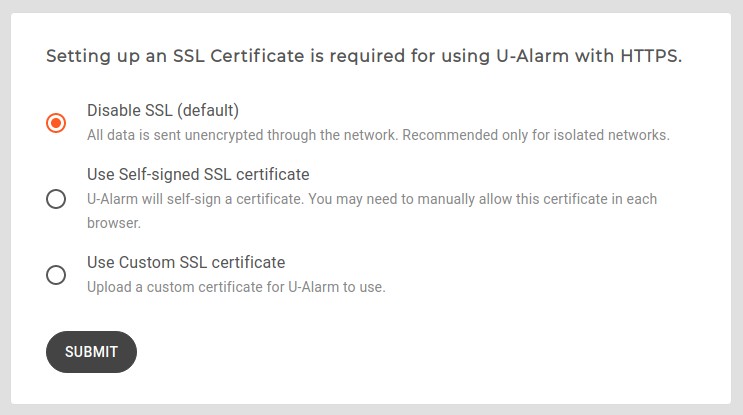
There are two options besides turning SSL off.
Self-signed SSL certificate
You can set a self-signed certificate in the matter of seconds:
Enter the name that should be in the certificate. In most cases, it is the same name you enter in the browser address bar (without the http:// prefix). IP address is allowed as well. The self-signed certificate will ensure that the data is transmitted between the browser and the Ultinous AI Suite box encrypted. However, it can not prevent all kinds of attacks (man-in-the-middle).
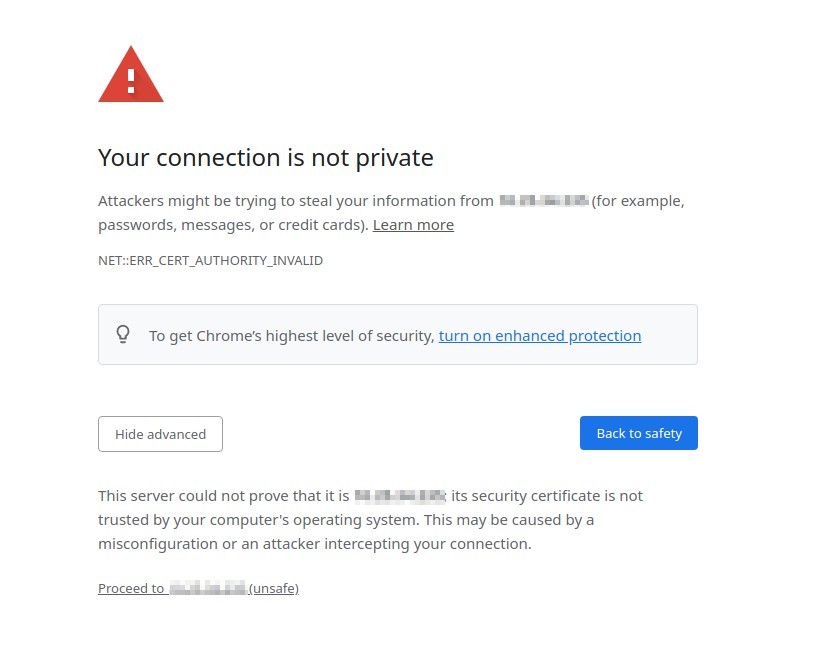
When a self-signed certificate is set, the browsers will show a warning that the certificate is not trusted as it was issued by the box itself, not a trusted 3rd party Certificate Authority - this can safely be ignored in this case.
Using Google Chrome, click Proceed to... on the bottom of the page:
On Firefox, click Advanced, then Accept the Risk and Continue:
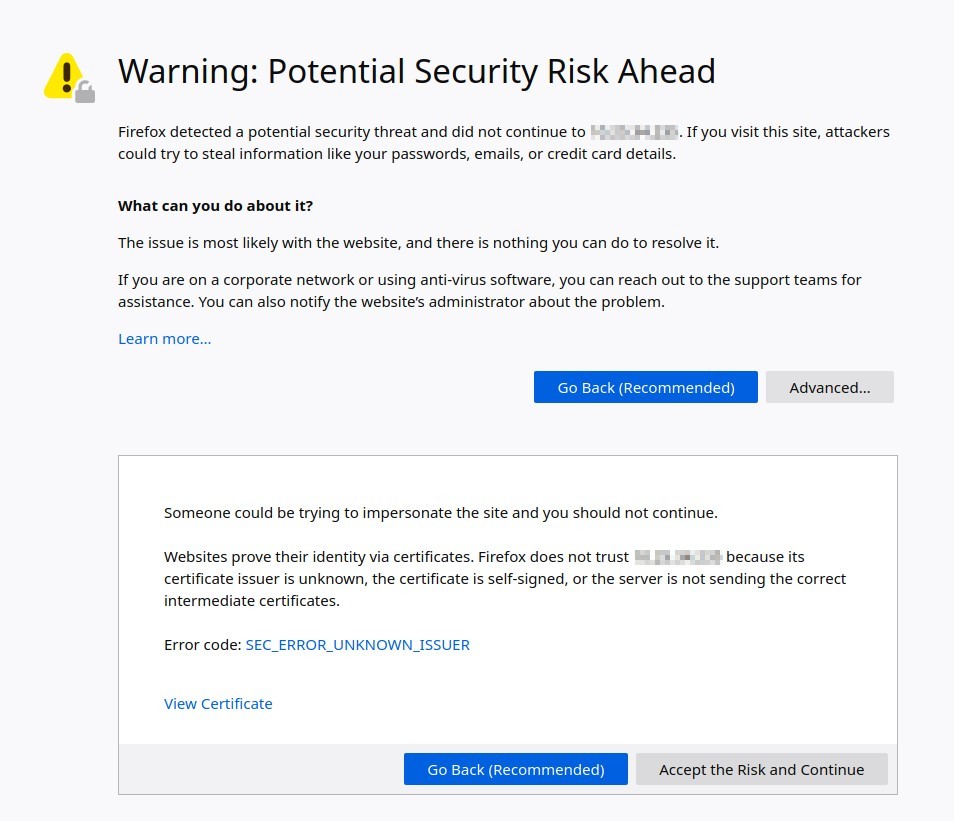
Depending on the browser, the certificate can be added permanently, or temporarily for that session.
Custom SSL certificate
When a custom certificate is desired, you have the option to upload it along with the private key.
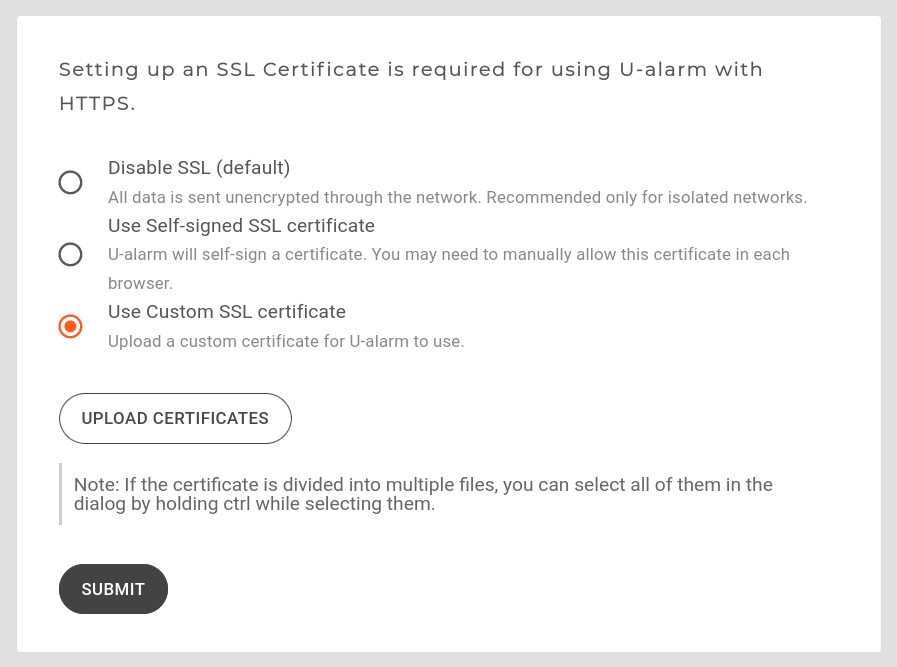
A wide range of formats are supported - see the list below.
The workflow highly depends on your organization and your Certificate Authority (CA). The general steps are usually the following: you generate a keypair, a certificate request, you send your request to the CA of your choice, you prove the ownership of the domain name to the CA, the CA issues you a certificate that you can upload to the Ultinous AI Suite along with the generated key. Some enterprises have their CA in-house for their systems, others use trusted public CAs.
CAs generally have their own documentation on how to proceed, usually something like this (assuming Ultinous AI Suite is reached via Ultinous AI Suite.example.com and the openssl utility is available):
$ openssl req -new -newkey rsa:2048 -nodes -keyout Ultinous AI Suite.example.com.key -out Ultinous AI Suite.example.com.csr
Generating a RSA private key
................................+++++
.............................................................................+++++
writing new private key to 'Ultinous AI Suite.example.com.key'
-----
You are about to be asked to enter information that will be incorporated
into your certificate request.
What you are about to enter is what is called a Distinguished Name or a DN.
There are quite a few fields but you can leave some blank
For some fields there will be a default value,
If you enter '.', the field will be left blank.
-----
Country Name (2 letter code) [AU]:HU
State or Province Name (full name) [Some-State]:Budapest
Locality Name (eg, city) []:Budapest
Organization Name (eg, company) [Internet Widgits Pty Ltd]:Example company
Organizational Unit Name (eg, section) []:System administrators
Common Name (e.g. server FQDN or YOUR name) []:Ultinous AI Suite.example.com
Email Address []:

Please enter the following 'extra' attributes
to be sent with your certificate request
A challenge password []:
An optional company name []:
The Ultinous AI Suite.example.com.csr file is then uploaded to the CA’s website, after which they send a verification e-mail to admin@example.com. Finally the certificate will be sent. Some CA allows you to choose format, or destination system type - in this case it is recommended to choose PEM format, or choose Apache or Nginx webserver. Along with the certificate, they usually send the certification chain. You can upload the certificate chain either concatenated to your certificate or as a separate file(s).
PKCS12 formatted files (usually with the extensions of .pfx or p12; mostly used by Windows servers) are not supported. They can however be converted to separate cert and key files using the openssl utility.
On Linux, this can easily be done with:
openssl pkcs12 -in example.p12 -nokeys |   sed -ne '/-BEGIN CERTIFICATE-/,/-END CERTIFICATE-/p' > example.cert.with.chain.pem
openssl pkcs12 -in example.p12 -nocerts -nodes | openssl pkcs8 -nocrypt -out example.key.pem
- Accepted key types: RSA, ECC
- RSA keys can be either in PKCS1 or PKCS8 DER or PEM format
- ECC keys are only accepted in PKCS8 format
PEM files start with “-----BEGIN PRIVATE KEY-----” or their binary DER equivalent. Legacy openssl format (“-----BEGIN EC PRIVATE KEY-----)” is not supported.
To convert legacy openssl keys to pkcs8, use the following command:
$ openssl pkcs8 -in ec.openssl.key.pem -topk8 -nocrypt -out ec.pkcs8.key.pem
Supported curves are the SECG, NIST, X9.62 and RFC 5639 (brainpool) curves. Tested with prime192v1 (also known as, secp192r1 or P-192), secp384r1 (P-384), c2pnb163v1, brainpoolP512r1.
Certificates can be DER or PEM encoded (usually .crt, .cer or .pem), while the certificate chain can be concatenated to the certificate itself or as separate files. File and certificate order is not significant, the system will order it. Only one end certificate can be uploaded, the other certificates must be for the chain. The chain cannot contain missing links.