Solutions
Solutions are processes for detecting incidents.
Click the Solutions menu on the left sidebar for this view.
Before you start
Please make sure that all Cameras are registered and activated in Ultinous AI Suite.
When registering Solutions, make sure to take into account the Analysis Slots they would take up.
Note that the following is a comprehensive list of solutions pertaining to Ultinous AI Suite - select your suite above (U-Alarm, U-Safe, etc.) to view suite-specific solutions.
Supported Solutions
Intrusion
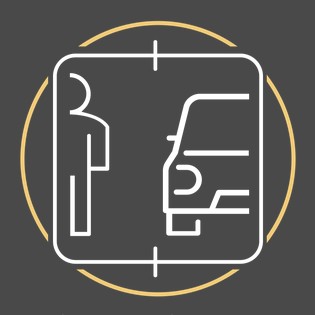
An Intrusion alarm is triggered whenever a person or ground vehicle is detected in a restricted area. It has high accuracy and low false alarm rate even at long range and with different light conditions.
- Core technology: full body and ground vehicle detection.
Full body detection distance and accuracy is high, compared to head detection.
- Takes up 10 analysis slots by default.
- Available classes: person, car, bus, truck, motorcycle, bicycle
- Compatible with fixed, PTZ, and thermal cameras.
- Areas of interest can be defined.
- Send alarm notifications to third-party software.
Multi Object Detection
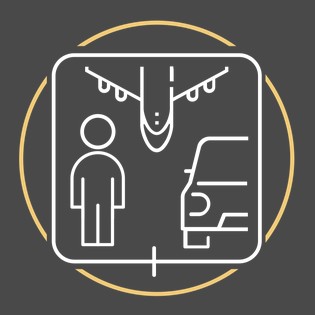
A Multi Object Detection alarm is triggered whenever people or vehicles (ground, air and watercraft) are detected within a set time frame or location. It has high accuracy and low false alarm rate even at long range and with different light conditions. This method of detection is ideal for specialised use cases that require the detection, classification and filtering of objects, to determine if the following is true:
| Person or Vehicle is: | Use case example |
|---|---|
| at the wrong place | Truck blocking an emergency exit |
| at the wrong time | A vehicle is detected at night in a daytime-only parking lot |
| of the wrong type | Motorcycle occupying a bicycle parking spot |
- Core technology: full body and vehicle detection.
- Takes up 10 analysis slots by default.
- Available classes: person, car, bus, truck, motorcycle, bicycle, train, boat, airplane
- Compatible with fixed, PTZ, and thermal cameras.
- Areas of interest can be defined.
- Send alarm notifications to third-party software.
Crowd

A Crowd alarm is triggered whenever the number of currently visible people reaches or exceeds a specific number. Multiple cameras can be associated with a single Crowd alarm, in which case the sum of the people triggers the alarm. This use case is ideal for detecting the extreme size of a queue or for detecting a potentially dangerous situation in a safety zone. Recommended for well lit areas.
- Core technology: head detection.
- Takes up 10 analysis slots by default.
- Compatible with fixed, PTZ, and thermal cameras.
- Areas of interest can be defined.
- Send alarm notifications to third-party software.
- Multi-camera support.
Zone Crossing
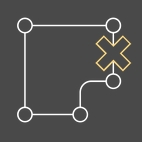
You can use Zone Crossing to notify you if an object (a person or any one of the 8 vehicle classes) enters an unauthorised area from a certain direction. Detections from any other type of movement will be ignored and will not generate alarm notifications. This type of Solution is most useful if you would like to prevent access to an area from only certain directions but allow authorised employees leaving the office, for instance.
The zones and the direction from which entry should trigger alarms are configured via regions of interest by using the Camera Editor.
| Object movement | Will trigger alarms? |
|---|---|
| An object leaves the Target area (in any direction). | X |
| An object, coming from outside both areas, enters the Target area. | X |
| An object is is detected inside the Target area. | X |
| An object, coming from the Source area, enters the Target area. | ✓ |
- Core technology: full body and vehicle detection with object tracking.
- A camera with a minimum of 6 FPS is required!
- Takes up 20 analysis slots by default.
- Compatible with fixed, PTZ, and thermal cameras.
- Areas of interest must be defined.
- Send data to third-party software.
Loitering

Loitering alerts you when an object (a person or any one of the 8 vehicle classes) has been staying in an area of your choosing for a specified amount of time.
- Core technology: full body and vehicle detection with object tracking.
- A camera with a minimum of 6 FPS is required!
- Takes up 20 analysis slots by default.
- Compatible with fixed, PTZ, and thermal cameras.
- Areas of interest can be defined.
- Send data to third-party software.
Stopped

A Stopped alarm is triggered if a person or vehicle stays motionless for an amount of time set by the user. The level of motion for an object being considered as "stopped" is also configurable. As the detector requires a minimum object size of 110, it is recommended to use such alarms within medium- to short-range to ensure accurate detection of objects.
- Core technology: full body and vehicle detection with object tracking.
- A camera with a minimum of 6 FPS is required!
- Takes up 20 analysis slots by default.
- Compatible with fixed, PTZ, and thermal cameras.
- Areas of interest can be defined.
- Send data to third-party software.
Wrong Direction

Wrong Direction utilises object tracking to trigger an alarm if a person or vehicle is not moving in the direction set by the user in a given area. The direction and the area dimensions are configurable, as well as the degree above which objects are considered to be going in the wrong direction.
The zones and the direction(s) that are considered to be "right" are configured via regions of interest, by using the Camera Editor.
- Core technology: full body and vehicle detection with object tracking.
- A camera with a minimum of 6 FPS is required!
- Takes up 100 analysis slots by default.
- Compatible with fixed, PTZ, and thermal cameras.
- Areas of interest can be defined.
- Send data to third-party software.
PPE (Personal Protective Equipment)
The personal protective equipment, or PPE detection triggers an alarm if the person(s) detected are not wearing either a protective helmet, a visibility vest, or both - you may check the lack of either or both types of equipment to be detected.
NOTE: A single alarm tracking either vest or helmet (not both) takes up 17, 25 or 50 analysis slots by default (minimum 17), depending on the Analysis speed and maximum number of analysed people configured. Tracking both types of equipment with a single alarm requires 33, 50 or 100 slots (minimum 33). [Read below to learn more about Analysis speed].
- Core technology: full body detection.
- A camera with a minimum of 6 FPS is required!
- Takes up a varying number of analysis slots - 17 at minimum.
- Compatible with fixed, PTZ, and thermal cameras.
- Areas of interest can be defined.
- Send data to third-party software.
Hazardous Area

Hazardous Area may be used to trigger an alarm if a person or ground vehicle is detected in a hazardous or unsafe area. It has high accuracy and low false alarm rate even at long range and with different light conditions.
- Core technology: full body and ground vehicle detection.
Full body detection distance and accuracy is high, compared to head detection.
- Takes up 10 analysis slots by default.
- Available classes: person, car, bus, truck, motorcycle, bicycle
- Compatible with fixed, PTZ, and thermal cameras.
- Areas of interest can be defined.
- Send alarm notifications to third-party software.
Fall Detection
Fall Detection is a tool for the monitoring and prevention of injury suffered by people tripping, slipping or otherwise falling to the floor and remain lying for an amount of time configured by the user.
- Core technology: full body detection with object tracking.
- Takes up 25 analysis slots by default.
- Compatible with fixed, PTZ, and thermal cameras.
- Areas of interest can be defined.
- Send data to third-party software.
Supported Counters
Counters are designed to be used with custom third party software. See the Counter API section for detailed instructions.
Multi Object Counter

Multi Object Counter is a tool for classifying and measuring the amount of the chosen type(s) of objects. Multiple cameras can be associated with a single Multi Object Counter - This enables the measurement of different object classes, as well as a single object type in two or more separate locations (such as counting the sum of cars in two parking lot areas) as well.
- Core technology: full body and vehicle detection.
- Takes up 10 analysis slots by default.
- Compatible with fixed, PTZ, and thermal cameras.
- Areas of interest can be defined.
- Send data to third-party software.
- Multi-camera support.
The data produced by Multi Object Counters can be accessed by third-party tools - see the Counter API section for integration instructions - as well as in Ultinous AI Suite, in the Events screen.
Traffic Counting
Traffic Counting measures the amount of people or vehicles entering, exiting and being inside a user-defined area; the number of objects inside being the result of subtracting the number of exiting objects from the number of entering ones. These values may be scheduled to reset to a configurable value in order to mitigate counting errors. Multiple cameras can be associated with a single Traffic Counting - This enables the measurement of different object classes per camera instance, as well as a single object type in two or more separate locations (such as counting the traffic going through multiple exits) as well.
- Core technology: full body and vehicle detection with object tracking.
- A camera with a minimum of 6 FPS is required!
- Uses 20 analysis slots (due to the tracking feature) by default.
- Compatible with fixed, PTZ, and thermal cameras.
- Areas of interest must be defined.
- Send data to third-party software.
- Multi-camera support.
The data produced by Traffic Counting can be accessed by third-party tools - see the Counter API section for integration instructions - as well as in Ultinous AI Suite, in the Events screen.
Analysis Speed
One camera stream is able to handle up to two types of detections (including Counters) - If you add an already associated camera to a different type of Solution too, it will fill up the stream's "quota".
A dark grey (so-called "Analysis Slots") indicator keeps track of this, in the upper right corner of the Solutions screen and on the New/Change Solution screen. Click on the indicator to see how many free slots you have.
NOTE: If the dark grey indicator fills up, you will have reached your limit and cannot add another Solution.


Using the Ultinous AI Suite Camera Editor
(formerly the Stream Configurator)
Note when drawing ROI:
All object types, such as People or Cars, have their reference point at the bottom centre of their bounding box. Take care that if a negative region of interest covers the reference point of an object, it will not be detected. Similarly, if an object is only partially covered by a negative ROI in such a way that its reference point remains outside the covered area, it might be detected.
Basic Navigation
The scroll wheel zooms in and out of the canvas.
Middle-mouse button + drag moves the canvas. To reset to the center of the canvas, click the Go to Origin button. ![]()
The following functions are available at the top of the screen:
- Finish Editing and Exit button to save all changes and return to the Alarm page in Ultinous AI Suite.
NOTE: This only saves the changes made in the Editor - do not forget to press Save at the top of the Alarm page to add your changes to the Alarm itself.
- Discard Changes button to cancel all changes.
- Background, ROI and Measure buttons to open their respective tools and windows.
Shapes panel
- The list of created Areas are available here.
- Editing options for the currently selected Area can also be found here.
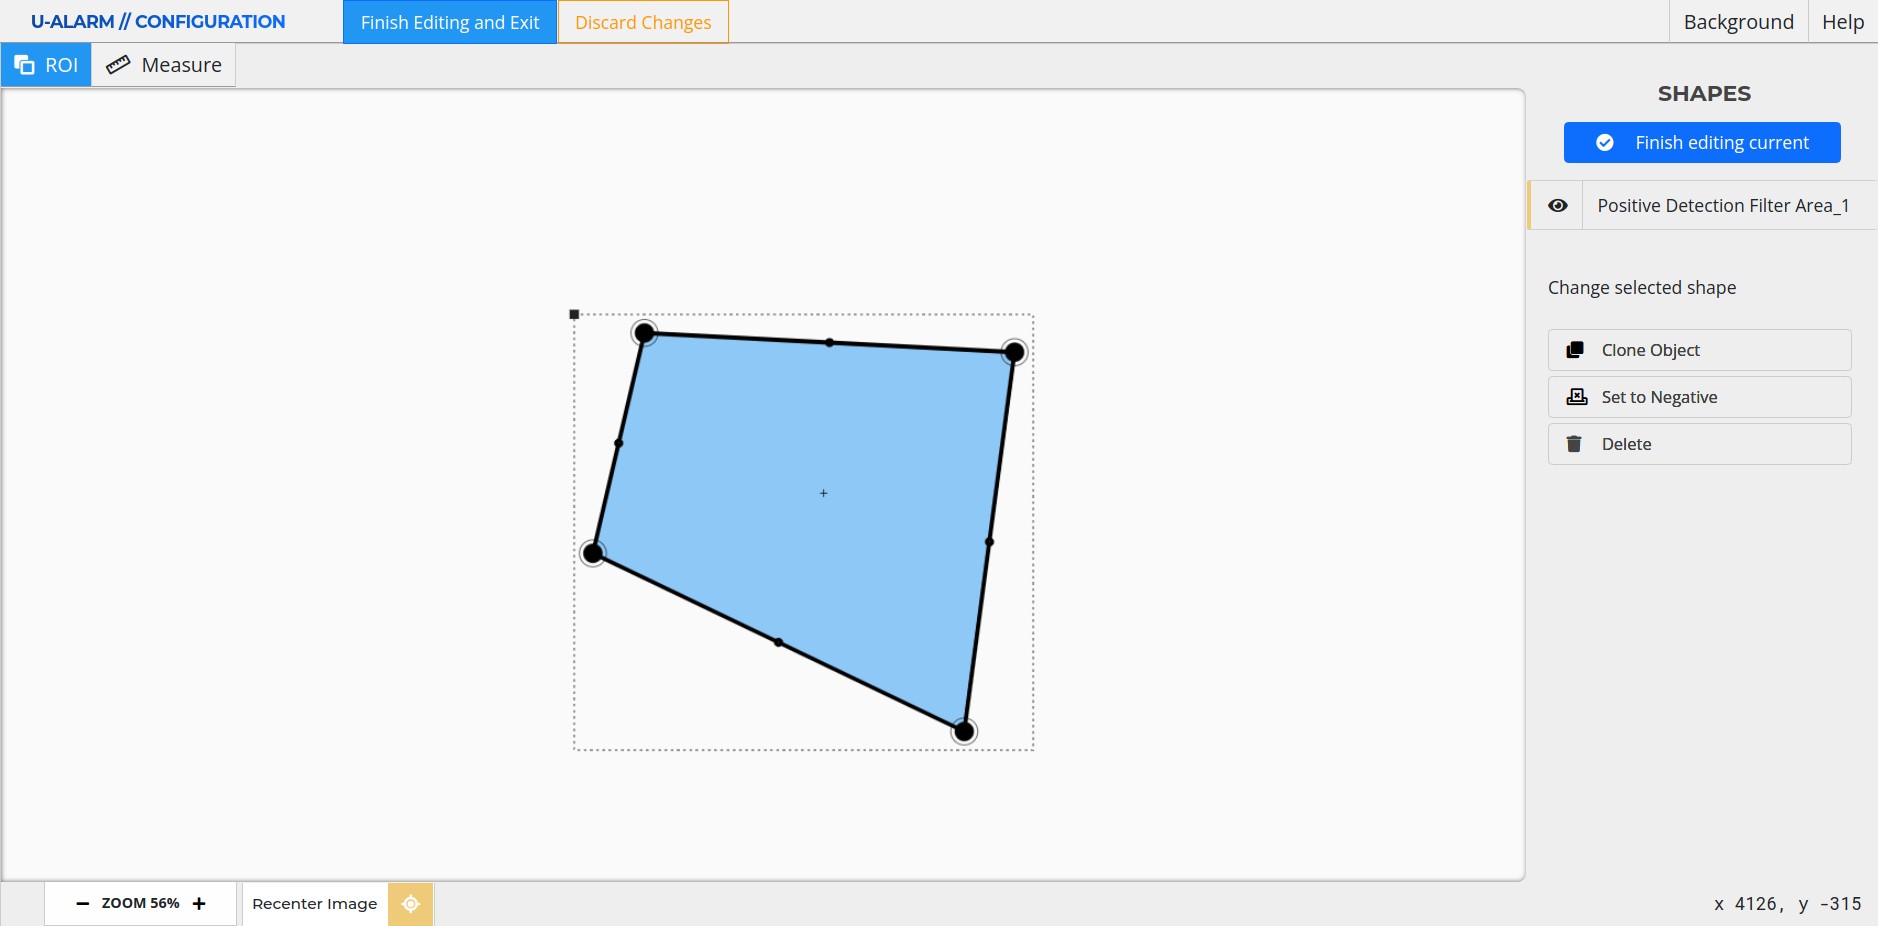
Drawing a new ROI
Select the ROI tool from the top toolbar (selected by default).
Define an area by simply clicking on the canvas to create nodes.
- Each step can be undone with a right-click.
- Click on the starting point to finish drawing the area (or double-click the last point).
The new Positive ROI will appear in the Shapes list.
You can draw more Areas: a camera can have an unlimited number of them.
Click the Finish editing current button at the top of the Shapes panel. You can exit the Camera Editor by the Finish Editing and Exit button, or cancel all changes with the Discard Changes button.
NOTE: This only saves the changes made in the Editor - do not forget to press Save at the top of the Alarm page to add your changes to the Alarm itself.
Negative Areas (optional)
Negative Areas can be used when posters, billboards or other design elements contain people, causing false alarms. In a Negative Area all detections will be ignored.
- Double click a ROI (or select it from the Shapes list).
- Click the Set to Negative button. Clicking the button again will change the area back to positive.
- Click the Finish editing current button at the top of the Shapes panel or click anywhere on the background to exit edit mode.
- The Area will turn white, indicating that it is a Negative Area.
Edit an existing ROI
- Double click a ROI (or select it from the Shapes list).
- Each node of the Area can be moved by dragging them with the mouse on the canvas.
- New nodes can be created by clicking on the mid-point of a section of the Area.
- The entire Area can be moved by dragging the black square at the top-left corner of the bounding box.
- Click the Finish editing current button at the top of the Shapes panel or click anywhere outside the bounds of the shape to exit the edit mode.
Delete an existing ROI
- Double click a ROI (or select it from the Elements list).
- Click the Delete button.
Additional Tools and Options
Background
By clicking the Background button, a detachable window will open, giving you the following options:
- The opacity of the background.
- Refresh the background image.
- Upload custom background image.
- Configure the background grid.
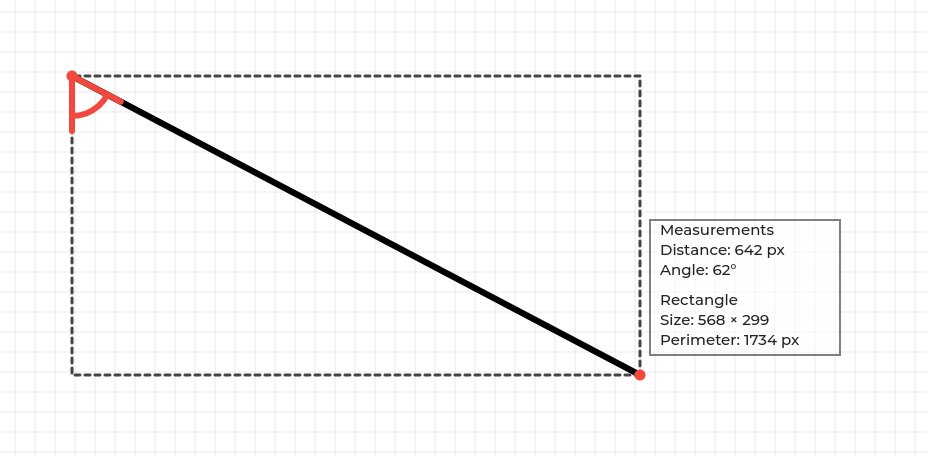
Measure
Enters into the Measuring mode. Left click sets the starting point and displays the distance between the starting point and the cursor location. It also calculates the size and perimeter of the rectangle where the ruler is the diagonal.
Next steps
You are most likely done with all mandatory settings. You can define Schedules for the Solutions to only operate at specific times - otherwise, you can learn more about receiving Events.