Installation on x86-64
If you are interested in installing AI Suite on Nvidia Jetson hardware, contact sales@ultinous.com or open a ticket on our support centre.
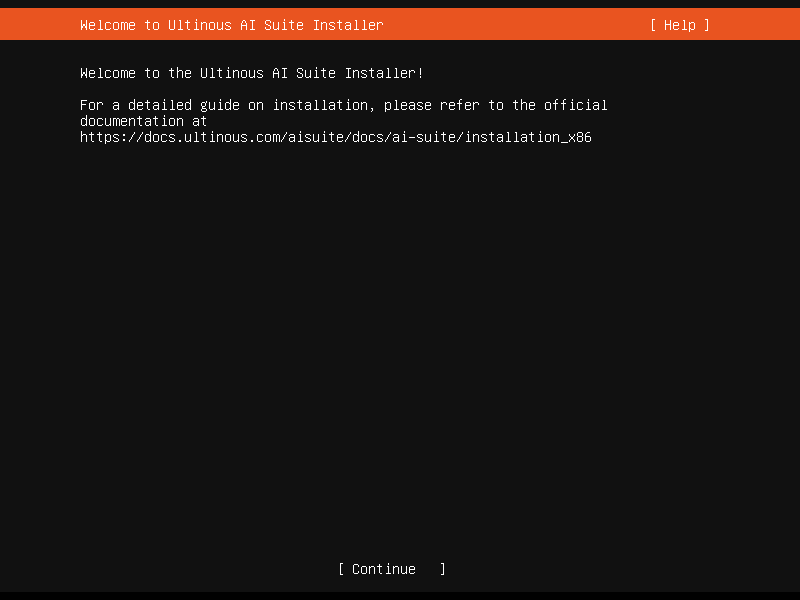
The following guide is a step-by-step guide on installing AI Suite on x86-64 hardware. The installer for x86-64 hardware comes as an .iso file, containing the software suite in an Ubuntu Linux environment.
NOTE: The installer will create a new EFI partition labelled as
ualarm. If a partition with the same label already exists on the PC in question, its data will not be erased, but the system will boot according the configuration set during installation, ignoring any such pre-existing EFI partitions.
Prerequisites
- A hardware setup conforming to the list of supported devices.
- At least two physical storage disks for separate installation of system and video data.
Brief installation steps
- Flash installer .iso to a USB stick.
- Install AI Suite.
- Allow ~30 minutes to pass for model cache generation.
- Find the IP address of your PC to access AI Suite from the web.
Install AI Suite
Download and flash the AI Suite image file to a bootable device, such as a USB stick. You may use
ddor any other image writer tool.NOTE: Make sure to disconnect all external storage devices, if any, before booting from the USB stick.
Boot from the USB stick. The AI Suite installation welcome screen will appear.
During the installation process, navigate between options using the arrow keys. Select an option by pressing space. You can go back to previous screens by pressing Back.
Select one or more disks from the list for system files installation (referred as the
systempool); selecting more than one disk results in RAID creation. Press Done.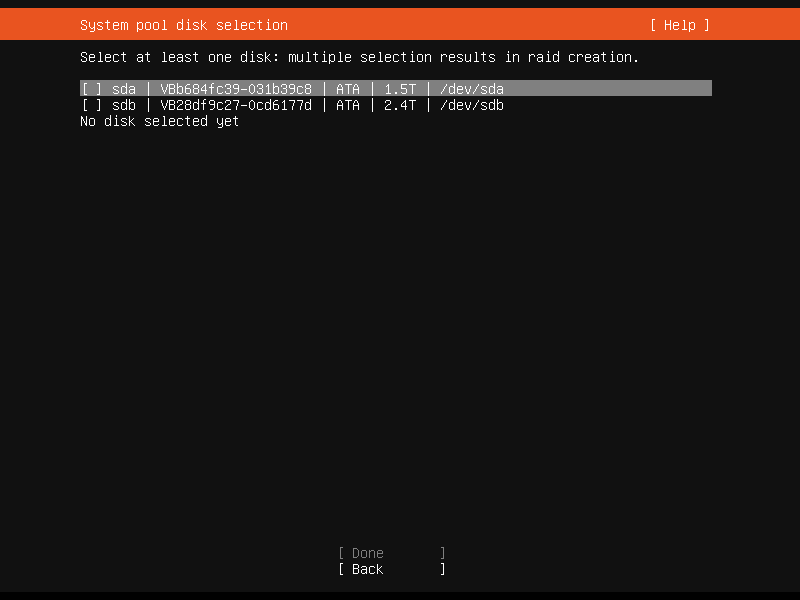
Select one or more disks from the list as the target for
datapool; selecting more than one disk results in RAID creation. Press Done.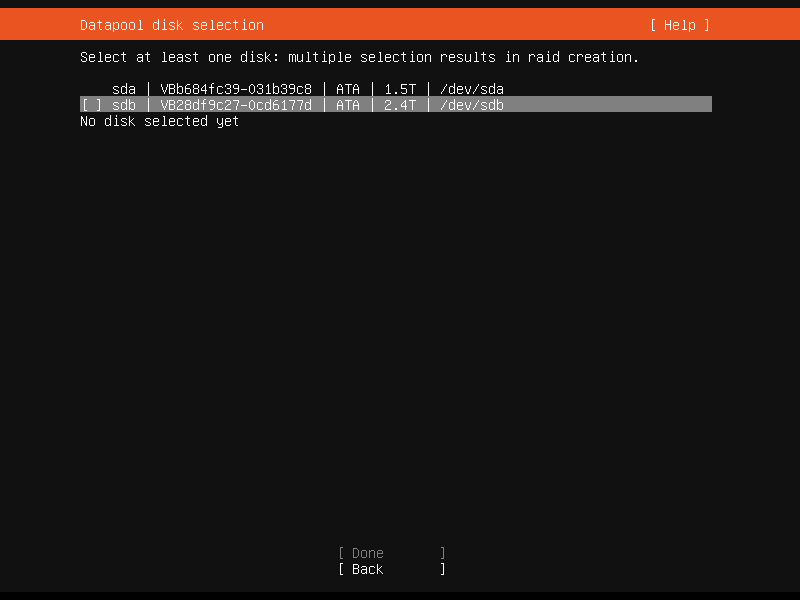
Ideal datapool disk size depends on the amount of cameras to be registered and whether the storage of video data for an extended amount of time is desired, as their data is going to be stored on this disk. Read on for more information on hardware space and video retention time.
Type a password for the
rootuser (to be used only for accessing the machine via a virtual console for possible administration purposes). Press Done.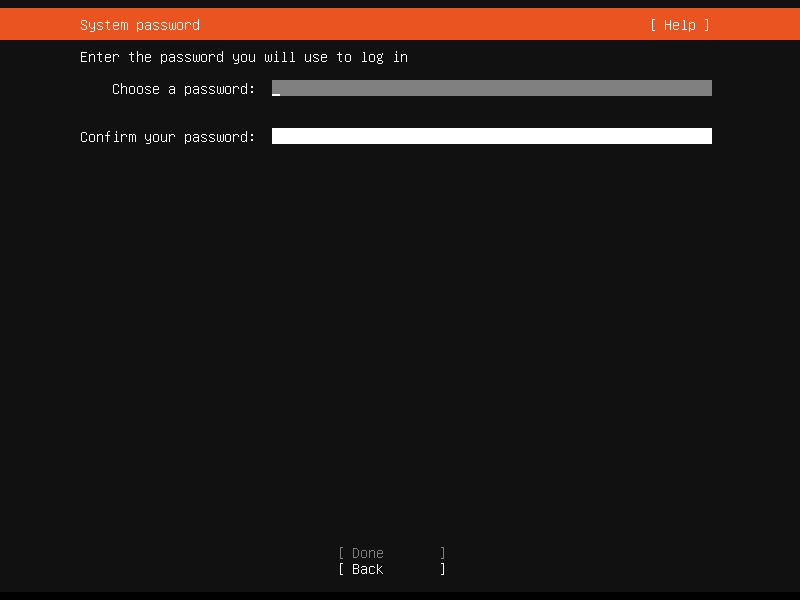
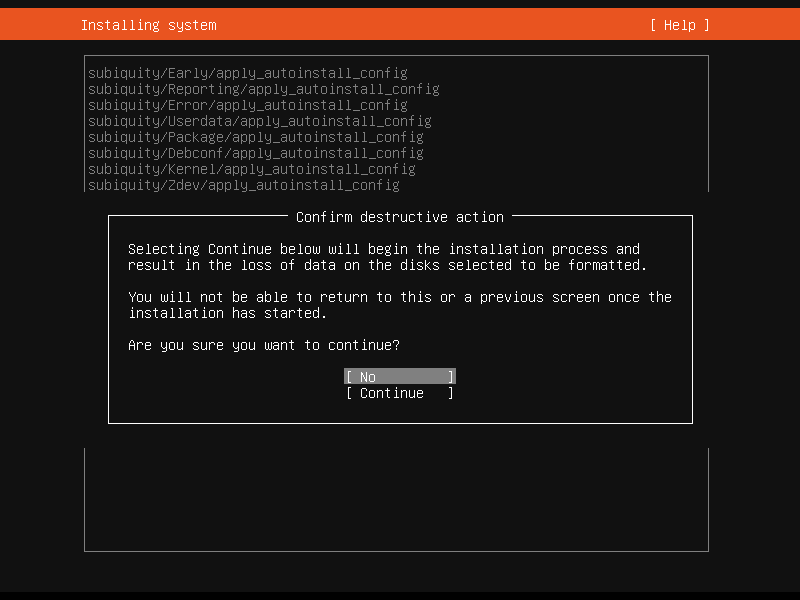
Press Continue to confirm your changes and begin installation.
Once the process is complete, you will be prompted to reboot your machine and remove the installation media.
Next steps
Once you boot the system for the first time, AI Suite needs to generate the model cache. Allow ~30 minutes for the process to complete, then follow the steps in the First Steps guide to configure your system.
Troubleshooting
In some rare cases, the installer may produce a message stating that "installation failed", when in reality installation has in fact finished. You can verify this by the "installation successful" line at the very end of the installation log. In this case, simply reboot the machine manually (skipping the Reboot now button) and proceed with configuration steps.