Installation
The following guide is a step-by-step guide on installing AI Suite on Nvidia Jetson NX devices. Click here to learn about installation on x86-64 hardware.
Before you start
Make sure you have the following devices and tools available:
- Linux Host PC Ubuntu (with 50 GB free space) with Internet connection.
- USB type A - micro USB cable (OTG cable).
- A supported Jetson device, see the Prepare your device section below.
- An SSD of at least 500 GB in size in the Jetson device.
- A monitor attached to the HDMI port of the Jetson device. Optionally a USB keyboard as well.
- A flash drive with at least 16G storage capacity.
- For some specific devices you might need SIM ejection pins (2 x SIM removal pin or paper clip as equivalent) for pressing the reset and recovery buttons at the same time, such as on ADLINK devices.
Prepare your device
Your device needs to be set to RECOVERY MODE.
| Generation | Manufacturer | Model | Vendor supplied documentation |
|---|---|---|---|
| NX | ADLINK | DLAP-211-JNX | LinkSection 3.2, System Recovery |
| NX | AAEON | BOXER-8253AI | LinkSection 3.2, Connecting to PC / Force Recovery Mode |
Excerpts
DLAP-211-JNX
- Connect the OTG cable to the USB 2.0 port.
- Press and hold the reset and recovery buttons at the same time.
- Press the power switch.
- Release the reset button.
- Release the recovery button.
AAEON BOXER-8253AI
- Connect the OTG cable to the USB 2.0 port.
- Press and hold the recovery button.
- Press the power switch.
- Release the recovery button.
Host PC
Install Python 2.7, python-minimal (or equivalent packages) and qemu-user-static on the host PC.
Connect the host PC to the client via OTG cable.
Enter recovery mode, see above.
Open a terminal on the host PC and run the
lsusbcommand.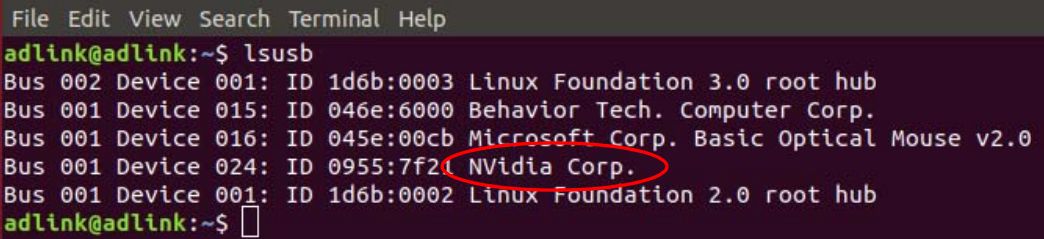
Look for
NVidia Corp.in the output (an example is circled in red in the screenshot above). If found, the host PC recognises the client and you may proceed. If not, double-check the OTG cable connection and perform troubleshooting as needed until the client is recognised.Download the Ultinous AI Suite flasher and the image/checksum files corresponding to your Jetson device from the links below:
- AI Suite flasher
- Image for ADLINK DLAP-211-JNX
- Image for AAEON BOXER-8253AI
- Checksum file for ADLINK DLAP-211-JNX
- Checksum file for AAEON BOXER-8253AI
Run the following commands in the directory that contains your downloaded files:
root@host:~# tar xzvf ualarm_flasher_4.0.0.tar.gz

root@host:~# cd ualarm_flasher_4.0.0
Prepare your flash drive with at least 16G free space for the installer.
a. Format it to ext4:
If it's already formatted and mounted, skip to step c.
root@host:~/ualarm_flasher_4_0_0# mkfs.ext4 /dev/sdbb. Create a directory and mount the file system:
root@host:~/ualarm_flasher_4_0_0# mkdir /mnt/flash && sudo mount /dev/sdb /mnt/flashc. Copy the installer and checksum file to the flash drive then unmount the drive:
root@host:~/ualarm_flasher_4_0_0# cd ..

root@host:~# cp ualarm_install.squashfs ualarm_install.squashfs.asc /mnt/flash/ && sudo umount /mnt/flash
d. Insert the flash drive to the Jetson unit.
Start flashing.
Before you start: Make sure that your default python interpreter is version 2.
root@host:~# cd ualarm_flasher_4.0.0
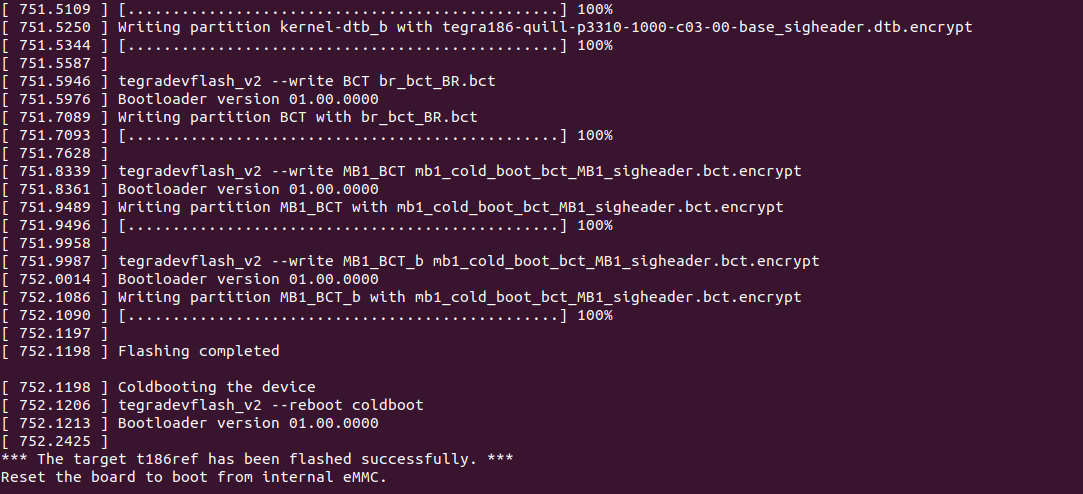
root@host:~/ualarm_flasher_4_0_0# ROOTFS_AB=1 ./flash.sh -r jetson-xavier-nx-devkit-emmc mmcblk0p1NOTE: Progress may take up to 15 minutes.
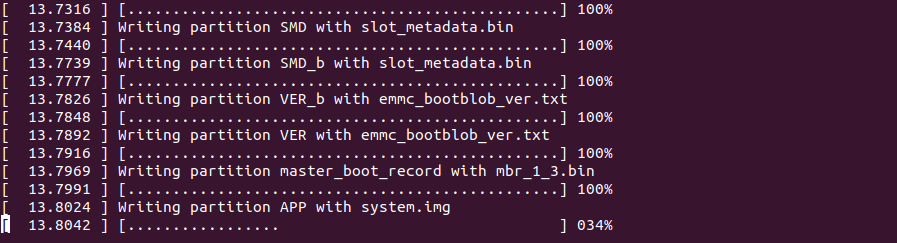
Allow the update to complete. If flashing was successful, the box will restart and the installation will begin automatically.
Installation
Wait for the installer to check its integrity.
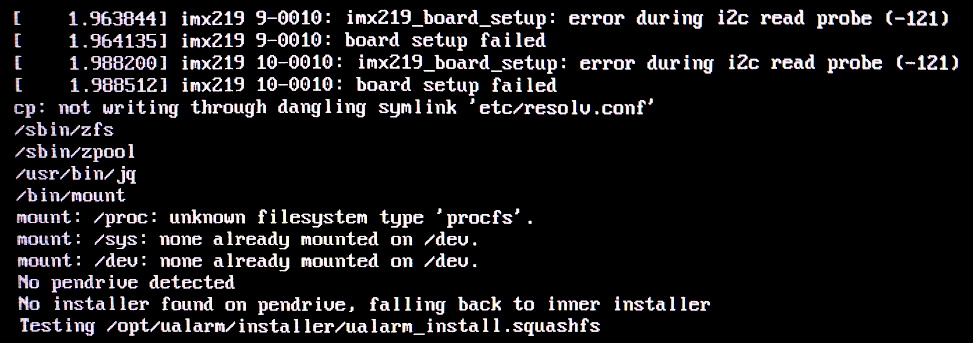
a. If you had previously installed a version older than 1.2.0 of Ultinous AI Suite on your machine, the installation might fail in one of two ways:
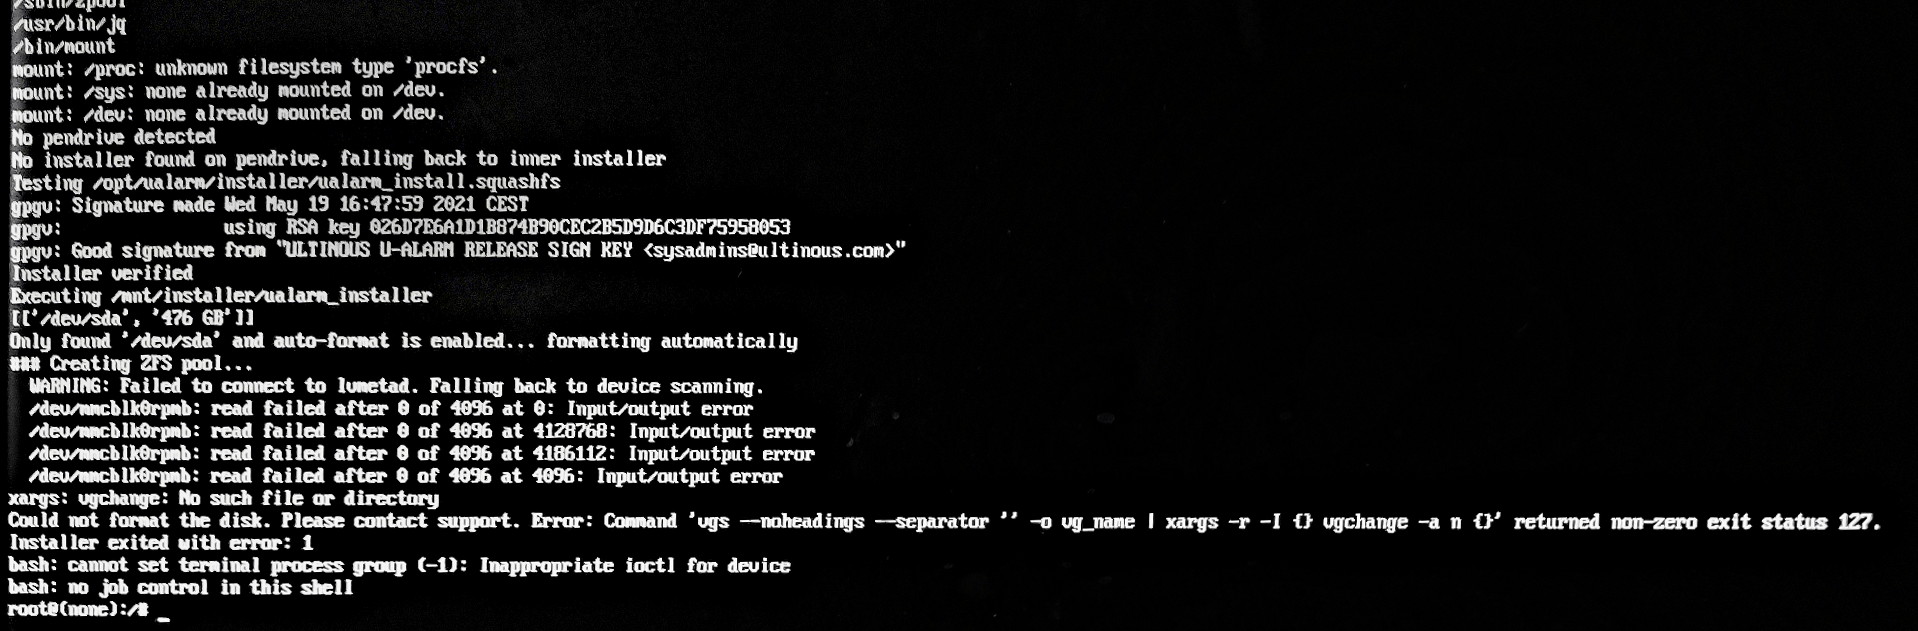
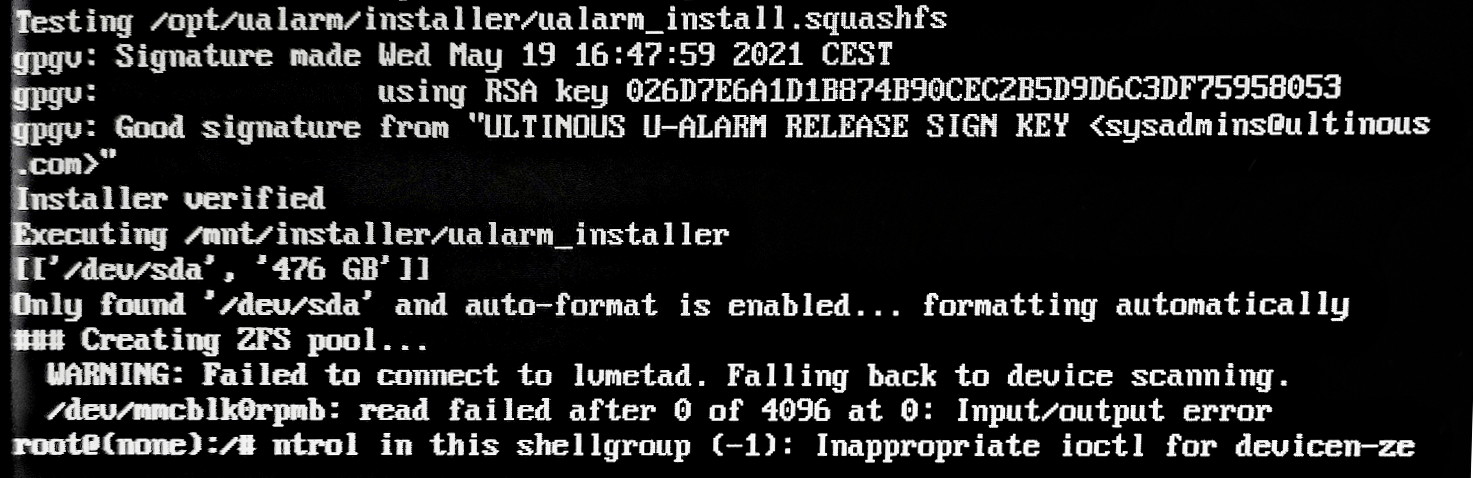
b. To remedy this, the old partitioning will have to be cleared on the SSD.
c. Note down your drive path from the line after
Executing /mnt/installer/ualarm_installer(in the example image, it's/dev/sda).d. Execute
wipefs -a <your drive path>thenreboot -f.f. The system will reboot and the installation will resume from step 1. If the problem still persists, please contact our support (support@ultinous.com).
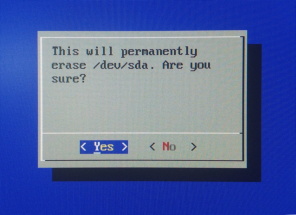
Select Target Medium (hardware dependent).
In case you have multiple drives suitable for installation, select the desired SSD drive for the installation (see the images below). If your hardware configuration includes only one such drive, this step will not appear.

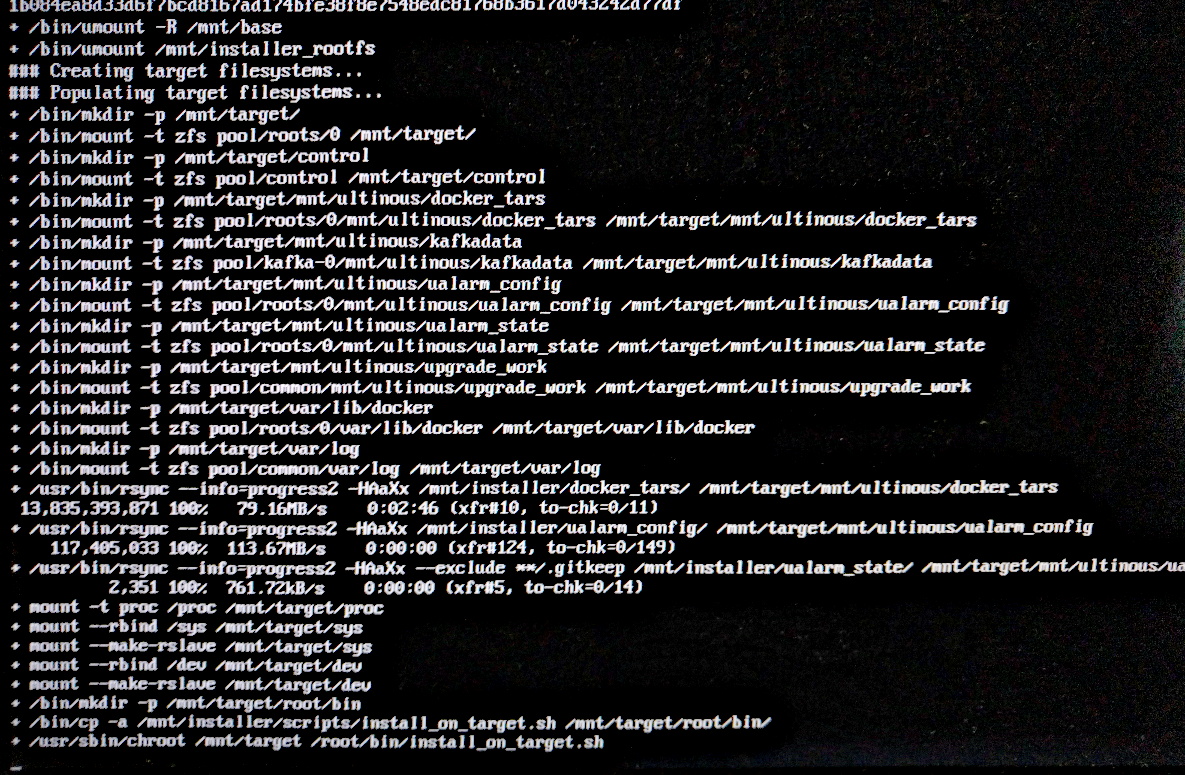
Wait for the installer to copy the necessary files. This step can take up to 5 minutes.
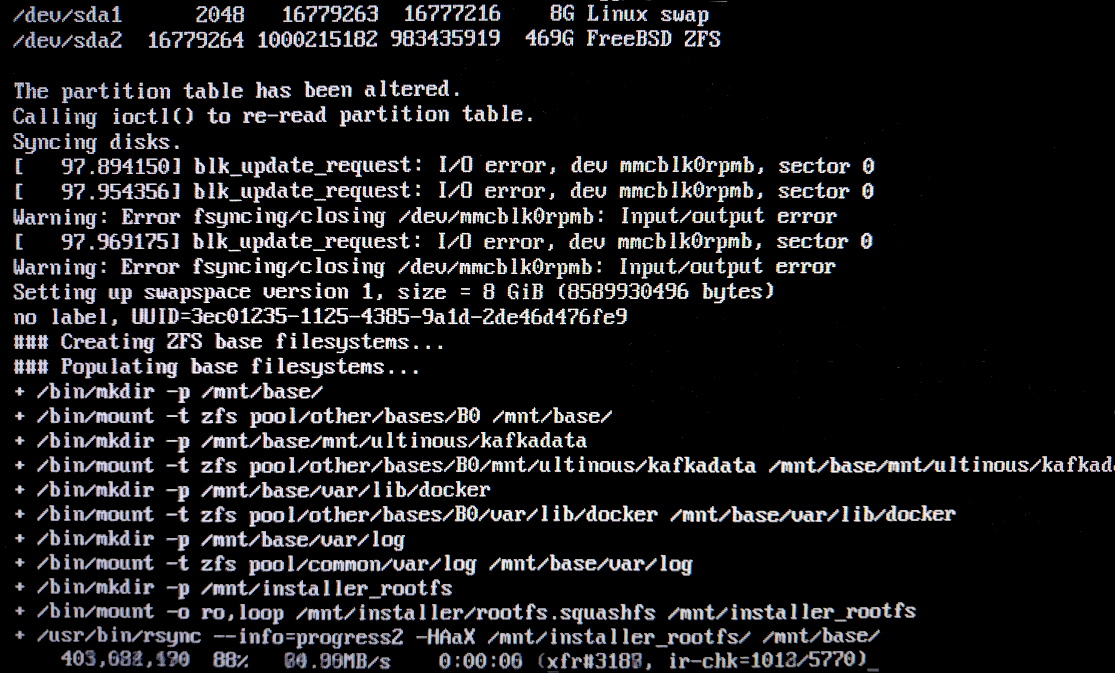
Wait for the installer to process the files. This step has no progress indication - it can take up to 5 minutes.
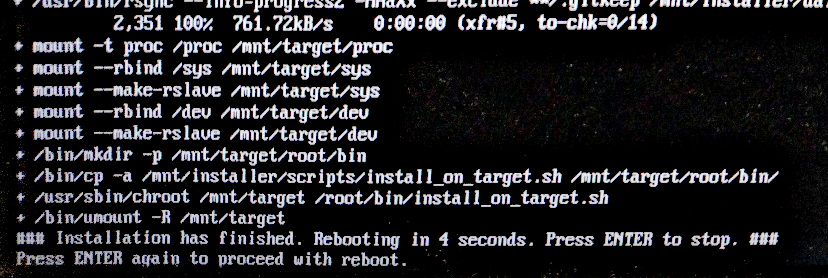
Wait for the system to reboot. You can prevent rebooting and optionally do an inspection if you press ENTER once you see a countdown from 15 seconds.
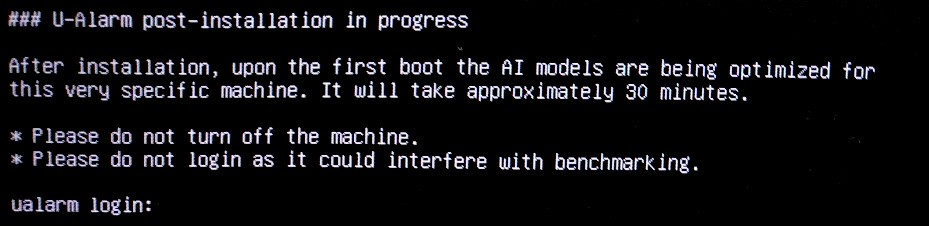
Wait for the machine to optimise AI models specifically for this machine. It will have no progress indication and can take around 30-40 minutes.
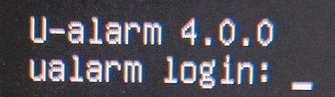
Installation is finished. The above notification is replaced with a standard login screen.
The web user interface will take an additional 3 minutes to be available.
The installation is now complete. To shut down the device, short press and release the power button - do not long press it - then wait for the system to shut down.